STORE HOURS - 9AM TO 5PM, MONDAY TO FRIDAY, SATURDAY AND SUNDAY THE STORE IS CLOSED
ETS PRO R32 GTR INSTALL GUIDE
TAKEN FROM A CUSTOMER. PRP TAKES NO RESPONSIBILITY!
"I run a high powered track only R32 GTR and have been left wanting more than the factory ATESSA (with piggyback controller) has been providing for me thus far. After reading about the ETS-Pro both on gtr.co.uk and here on SAU I got in touch with Geoff and Jon from FULL-RACE and ordered my ETS-Pro. Well, that was June – since then life got in the way, and I have finally found the time to dust of the GTR and fit the ETS-Pro prior to my next race event, Legend of the Lakes this weekend in Mt Gambier, SA. I will stress there are many ways to install the ETS-Pro, I have chosen my methods based on convenience, simplicity of installation, and the ability to test and experiment with the system (hence the location I chose for the G sensor). Hopefully the tutorial below can help those of you wishing to install the ETS-Pro in your R32 GTR, and I will return with feedback on its performance after the weekend for those of you interested in how well the system works. DISCLAIMER: Installation guide below is just that, a GUIDE. If you follow it and upon first startup your car instantaneously combusts and burns to the ground – SAU and I accept no responsibility……"
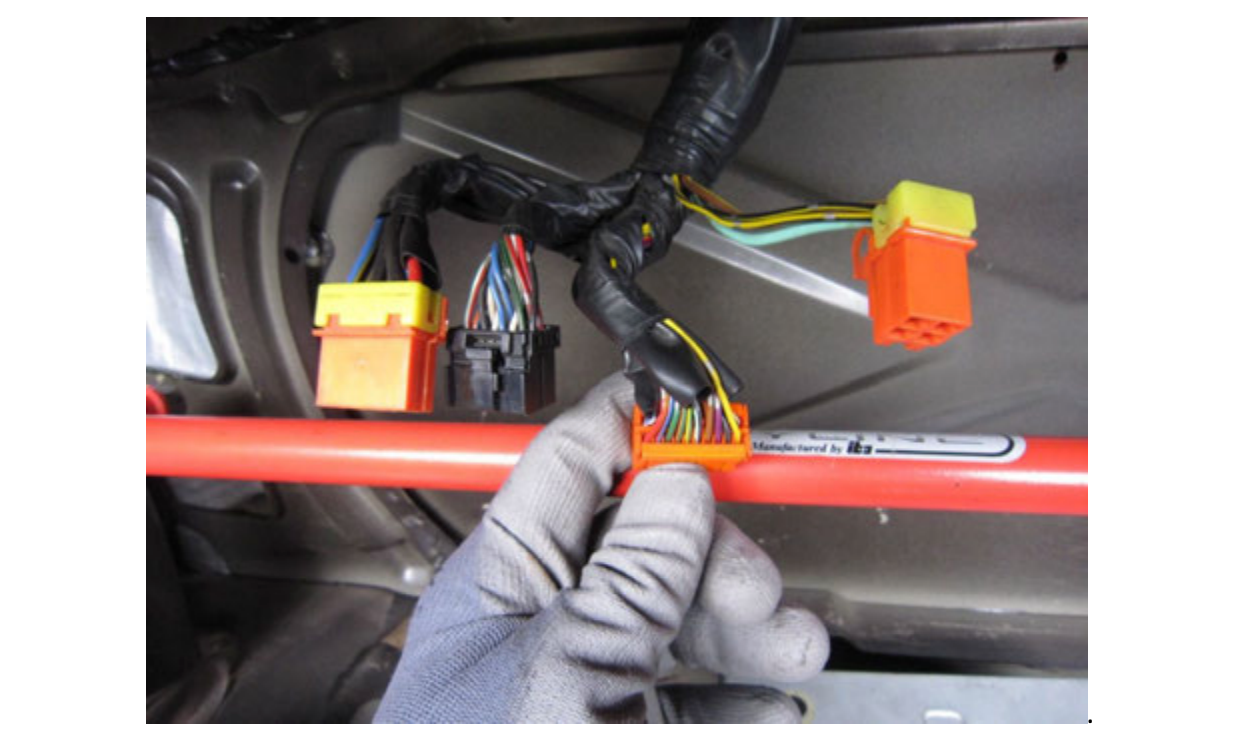
Installation:The following pictures are of the Attesa Pump assembly plugs above the rear diff. These contain the wiring for the Attesa pump motor, solenoid and pressure switch. For this particular installation, all we are concerned with are the SOLENOID wires – which are LIGHT GREEN and DARK GREEN/RED trace. NB – you don’t need to disconnect these wires above the diff, this was included FYI. You only need to find the applicable wires in the loom at the front of the boot. Of course, if your car has different colored wires, then you may need to trace them to the plugs pictured.
From here you are ready to the system IAW the ETS-Pro instruction guide